Extra witchy Calibarn
I wanted to do some airbrush practice
I’ve got a few ideas for customizing model kits that will require me to do things other than just paint individual pieces a solid color. So I decided to do make a kit where I’d include some masking and some gradients in order to just get practice in.

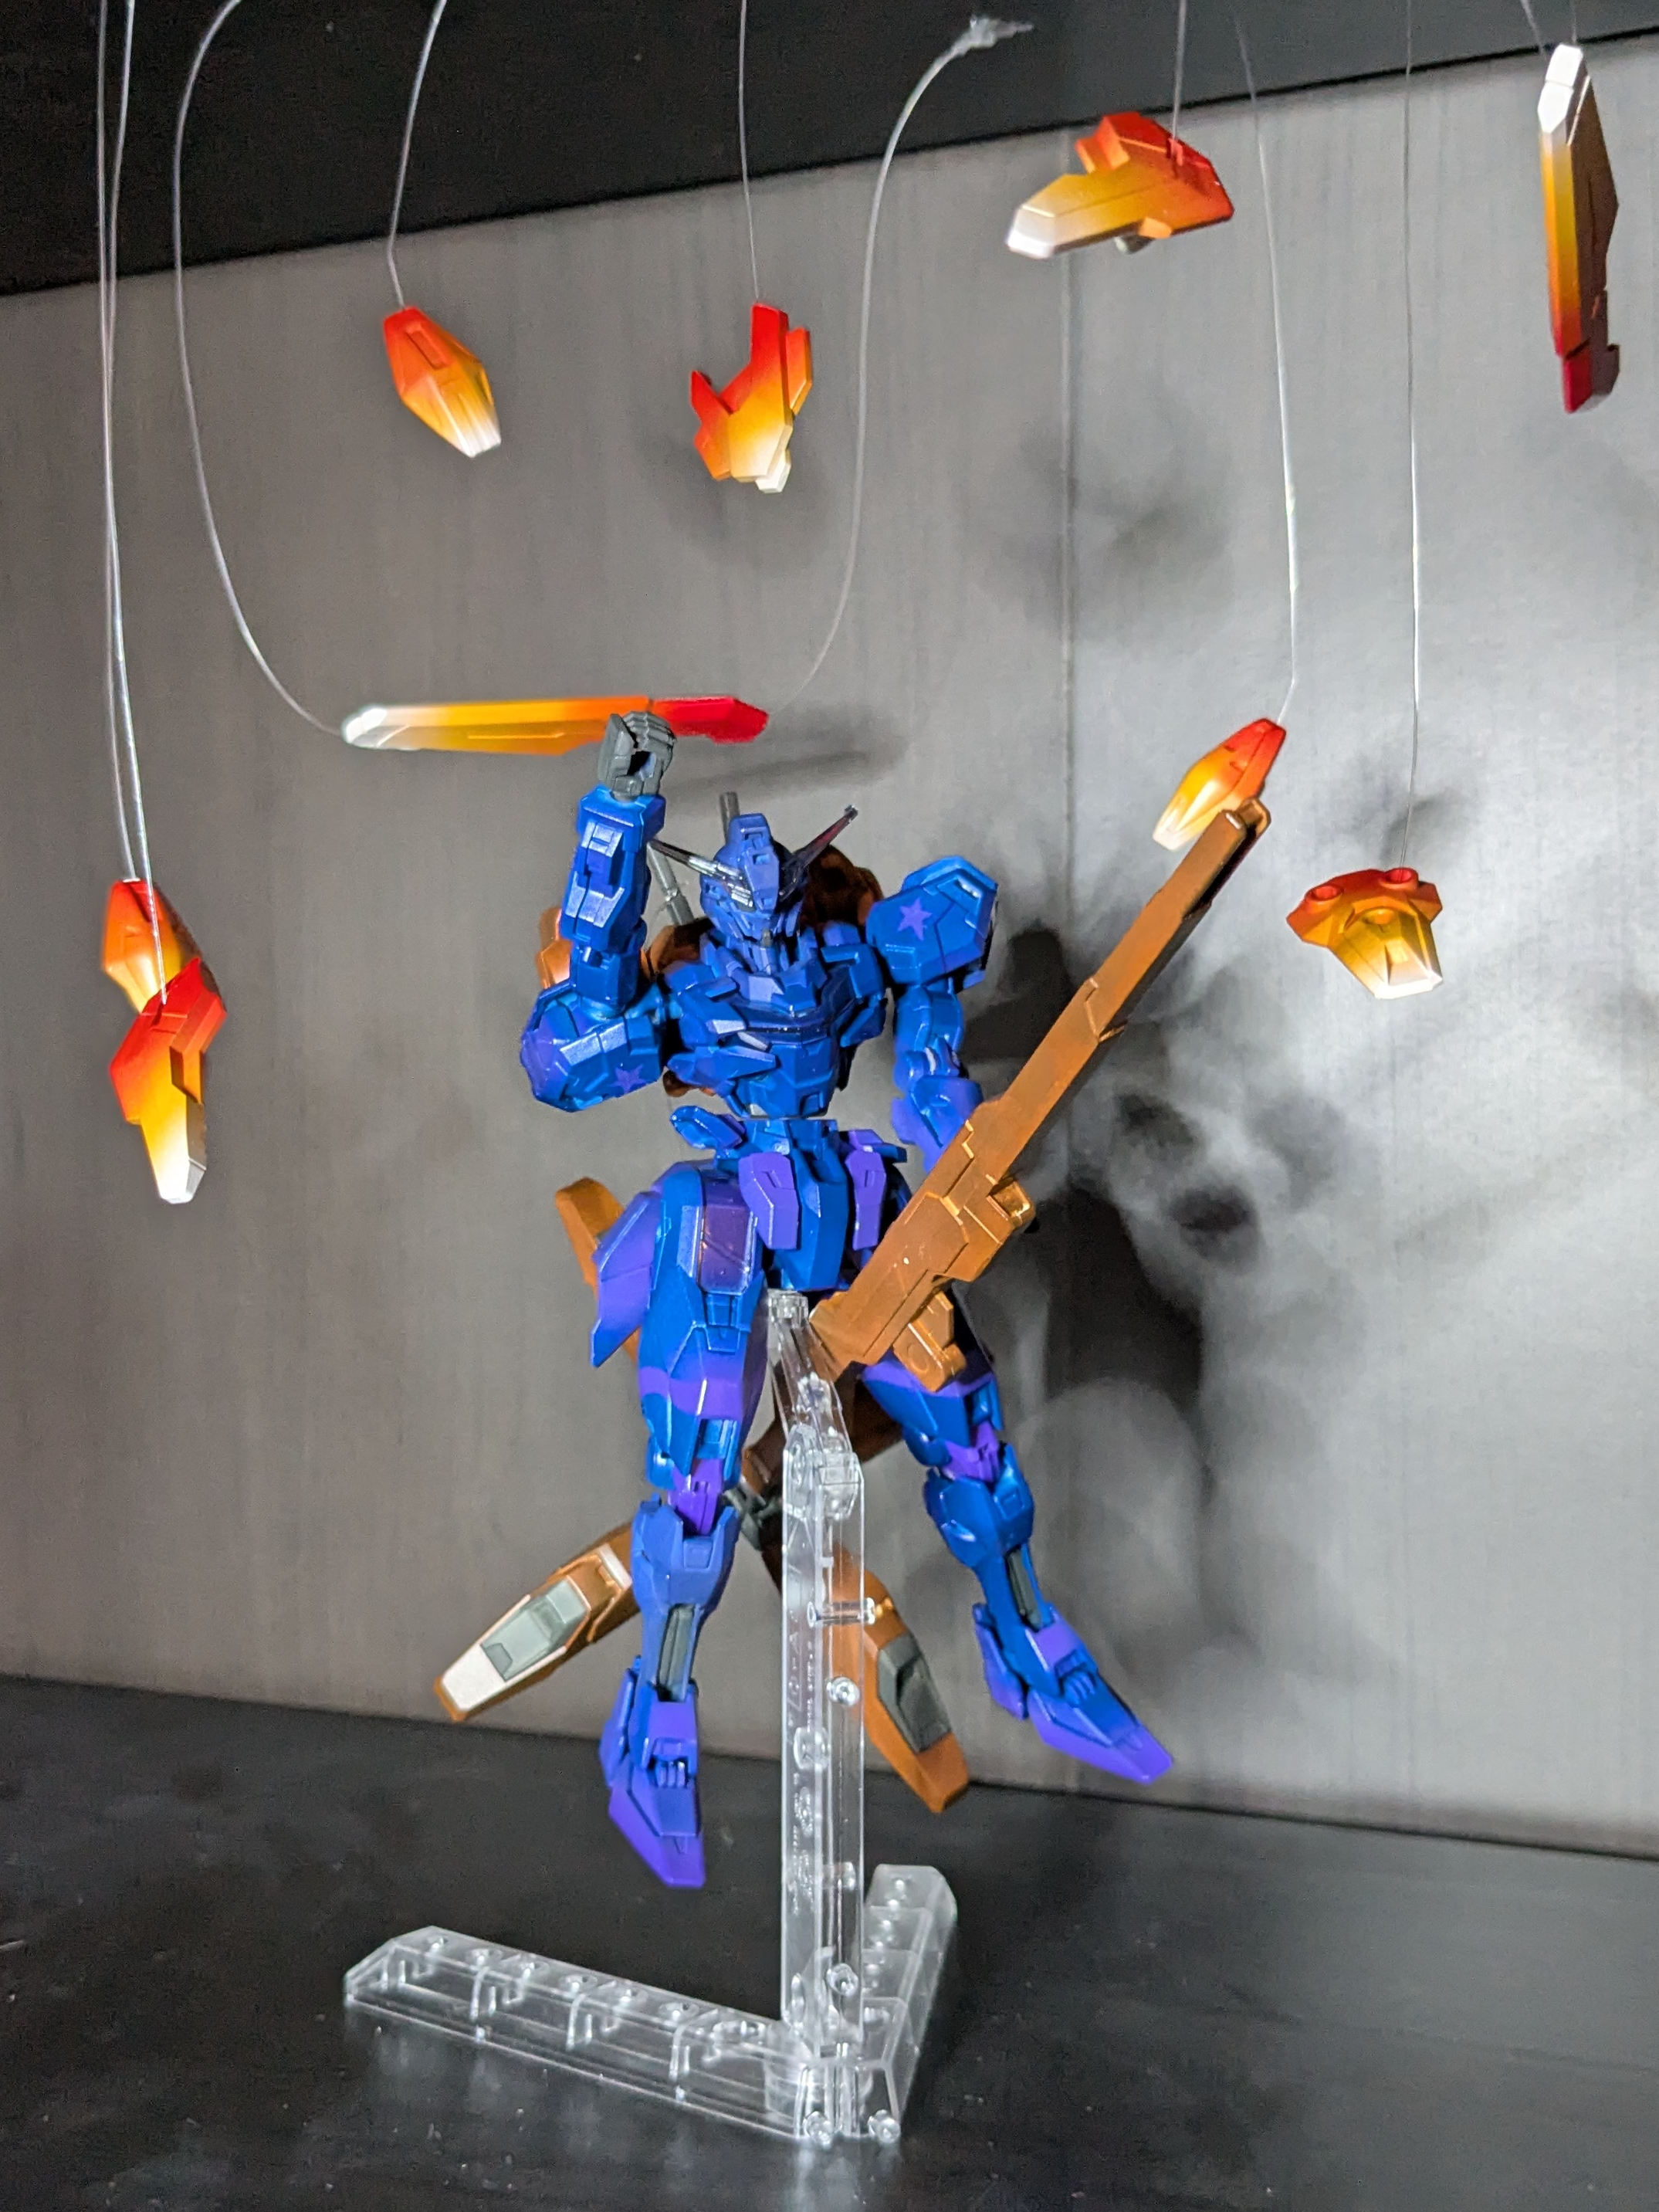
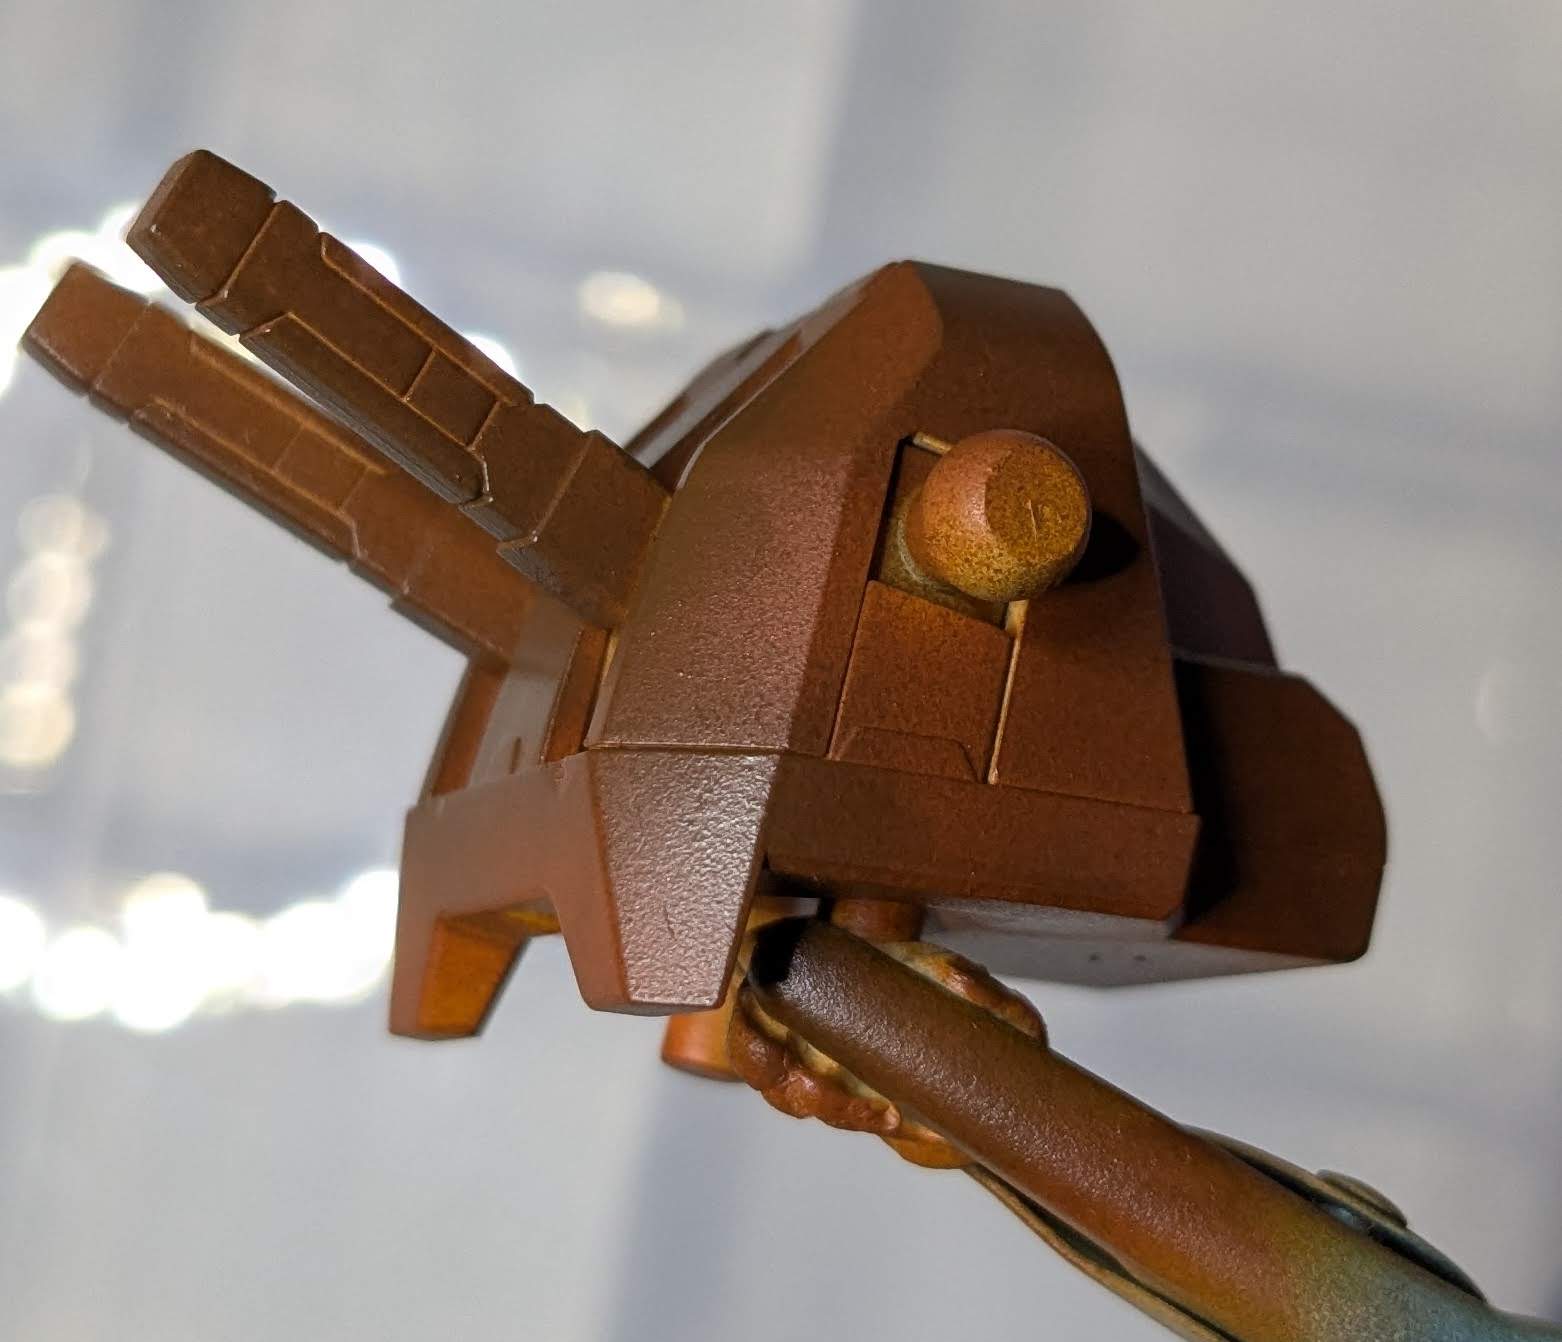
The idea was to make Calibarn extra witch-y, painting the gun/thruster like an actual witch broom, giving it a blue/purple color scheme, and turning the bits into fireballs.
Putties
After my last kit where I did a total color replacement I realized that it makes having gaps between pieces much worse because the leaking color contrasts so much.
So the solution I found was to use putty to fill the gaps, then sand down. I tried out a few different ones to figure out which one I liked most.
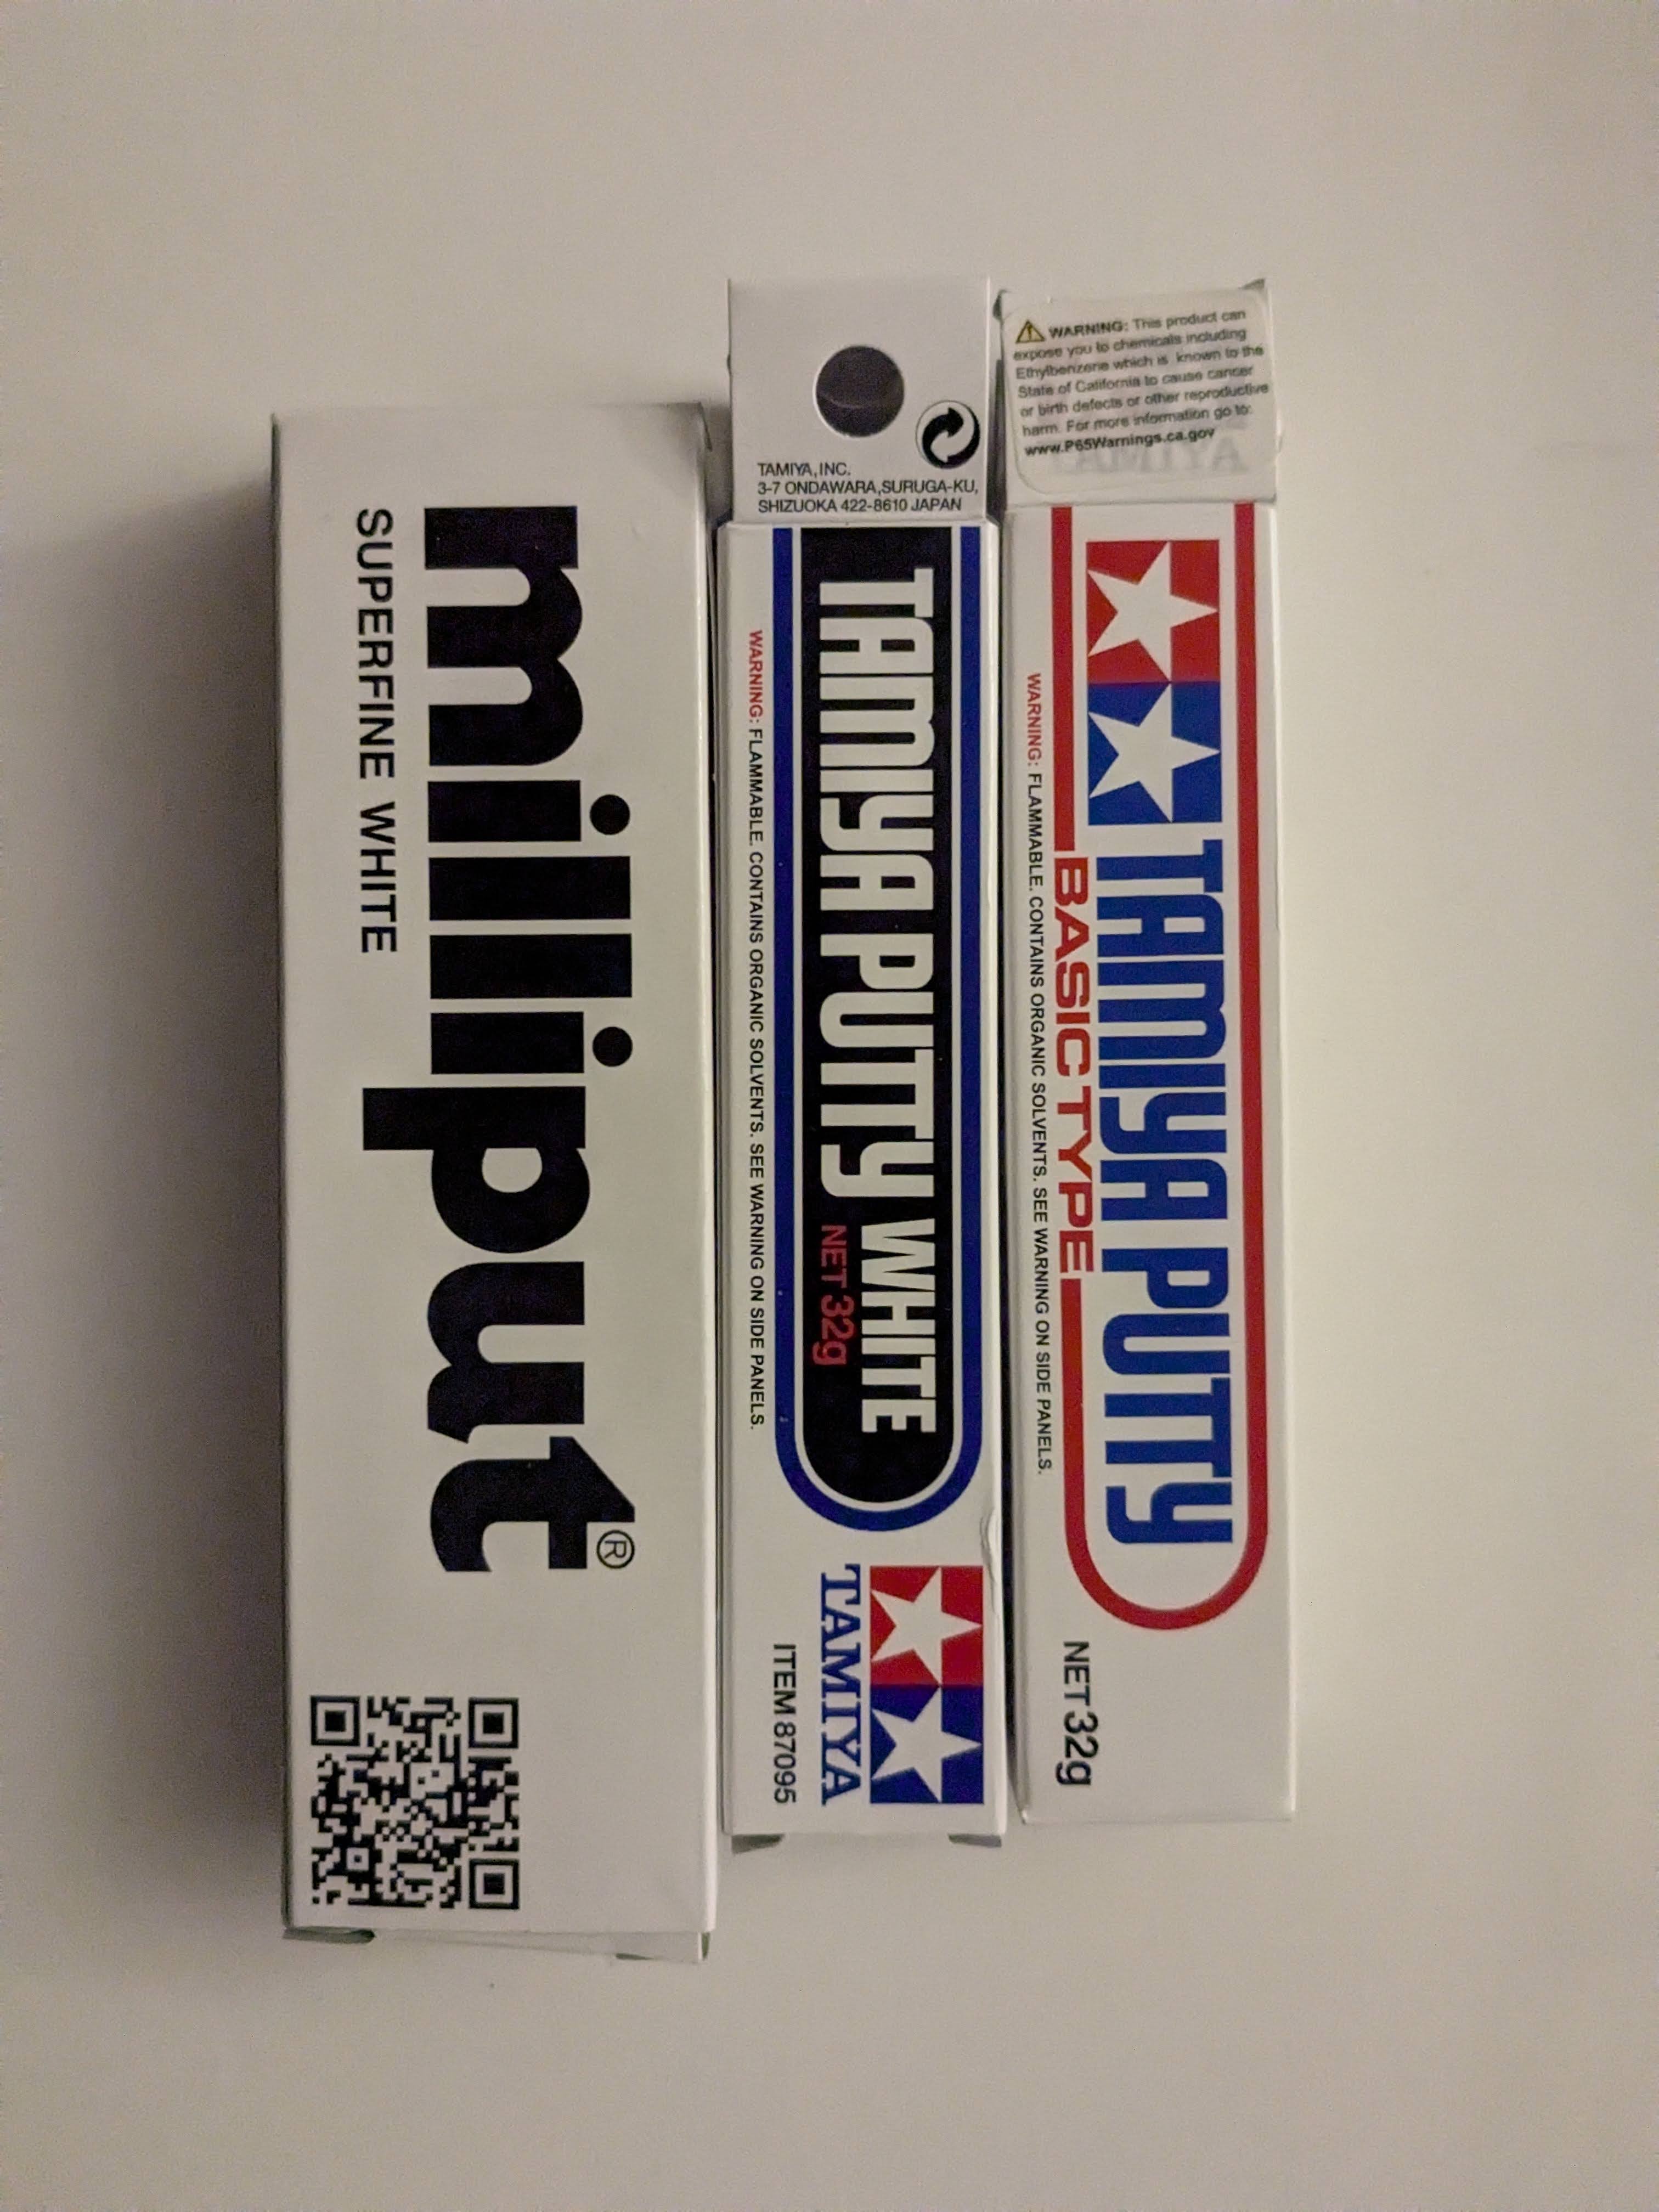
I like milliput, having used it before to fill gaps on 3d model prints, but it really didn’t work for this scale where there’s also lots of details I don’t want to cover up. Both tamiya putties worked fine, but I could really use more practice applying them. I used some wooden coffee stirrers to apply it but afterwards found some advice to use silicone spreaders that I’ll try next time.
Also for next time I picked up some vallejo water based putty that should be easier to thin and work with. We’ll see how that goes on a small test.
The results weren’t perfect but definitely an improvement.
Note the brown backpack having more noticeable gaps (though conveniently no contrasting color shows through). For the pieces I actually puttied I used too little putty and it contracted while drying so there’s still some visible diviots but it’s better.
Unrelated, but I’m pretty happy with the “leather” color I was able to mix for the backpack.
Masking
The first airbrushing technique I wanted to practice was masking on details, so I just added some stars and wiggly stripes as they seemed to fit the theme.
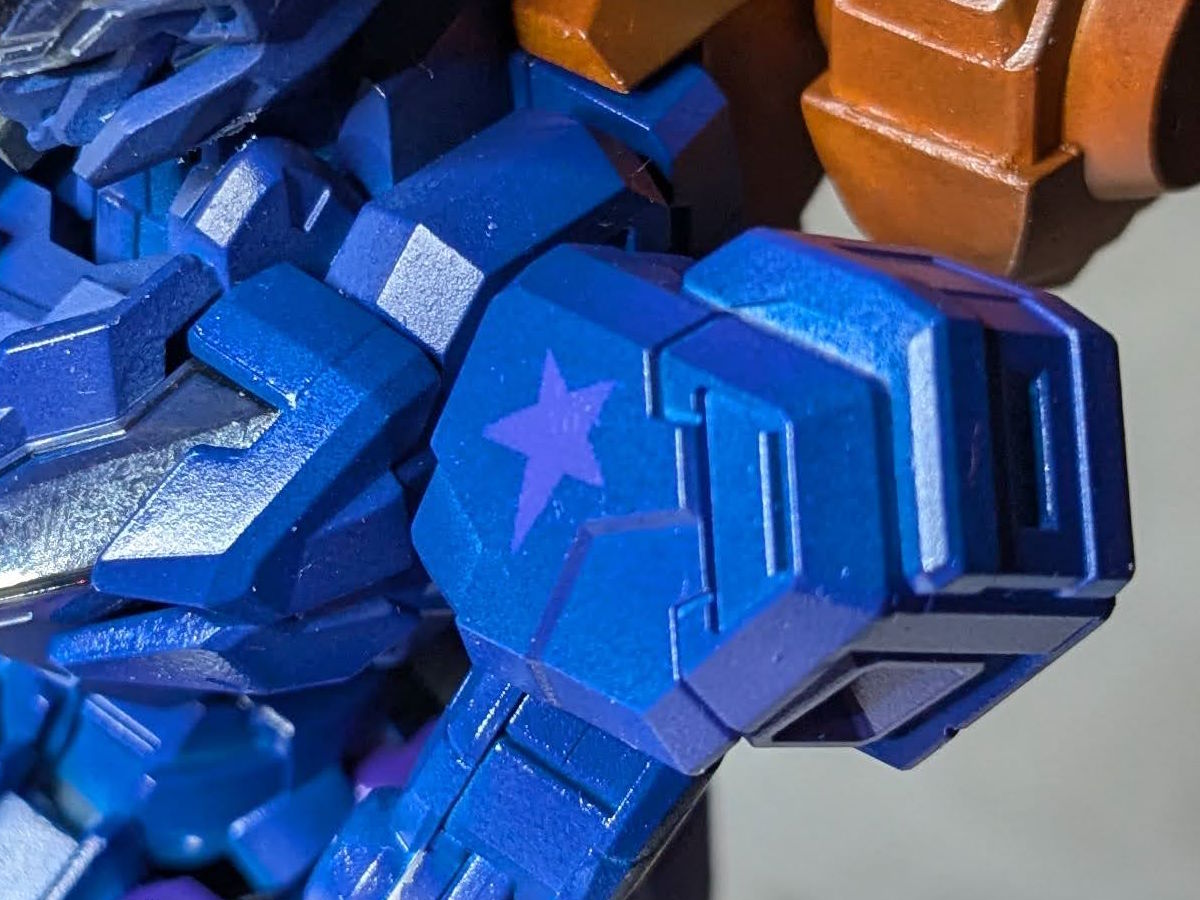
These came out pretty well, I was able to avoid much overspill and the good masking tape actually gave me a nice border. (There’s a little extra purple, but that’s from missing when adding a gradient elsewhere not from the actual masking step…)
Gradients
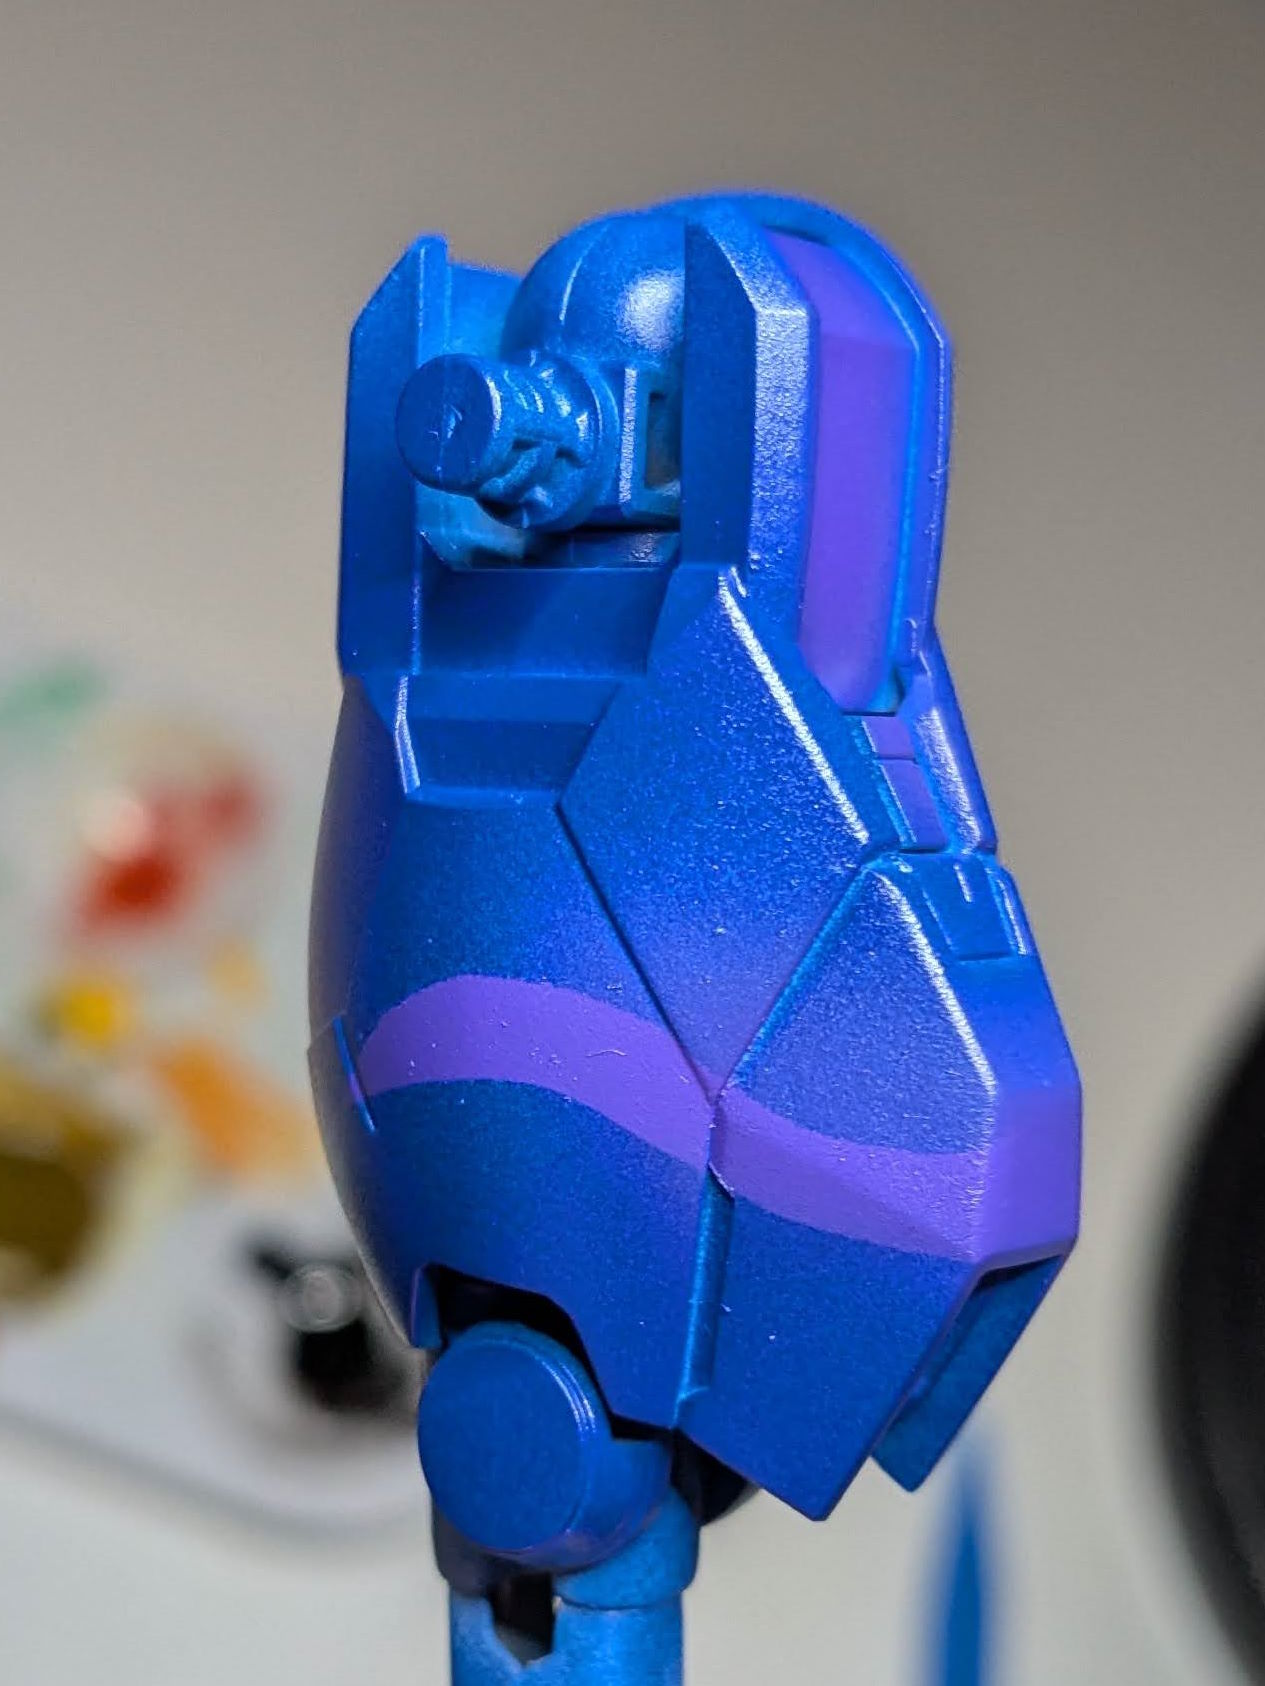
For Calibarn itself I pained on a few purple gradients to give it some depth and texture, but nothing especially complicated. The biggest gradient project I gave myself was painting the bits to hopefully look like fireballs its controlling floating around it.
This required a multi-colored gradient going from red to white at the tip to sell the fire effect.
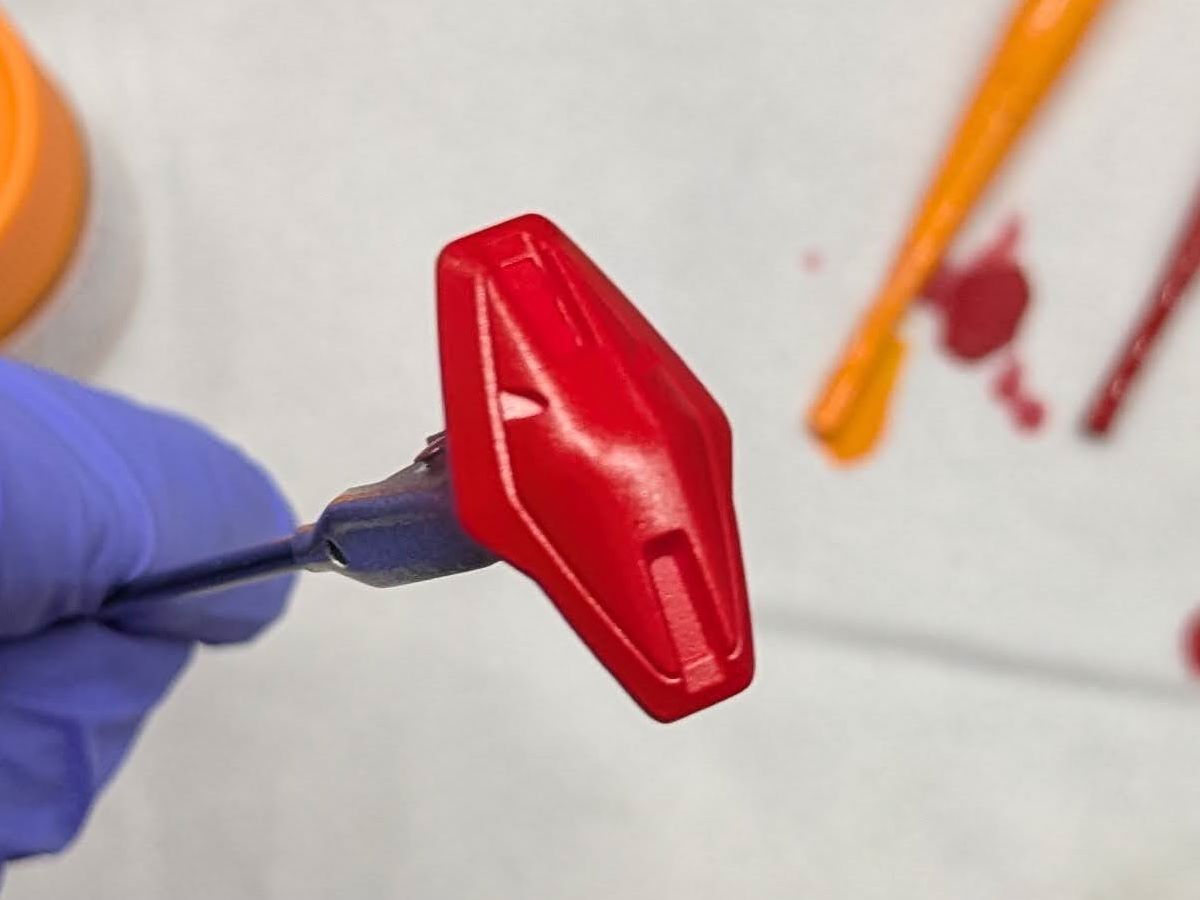
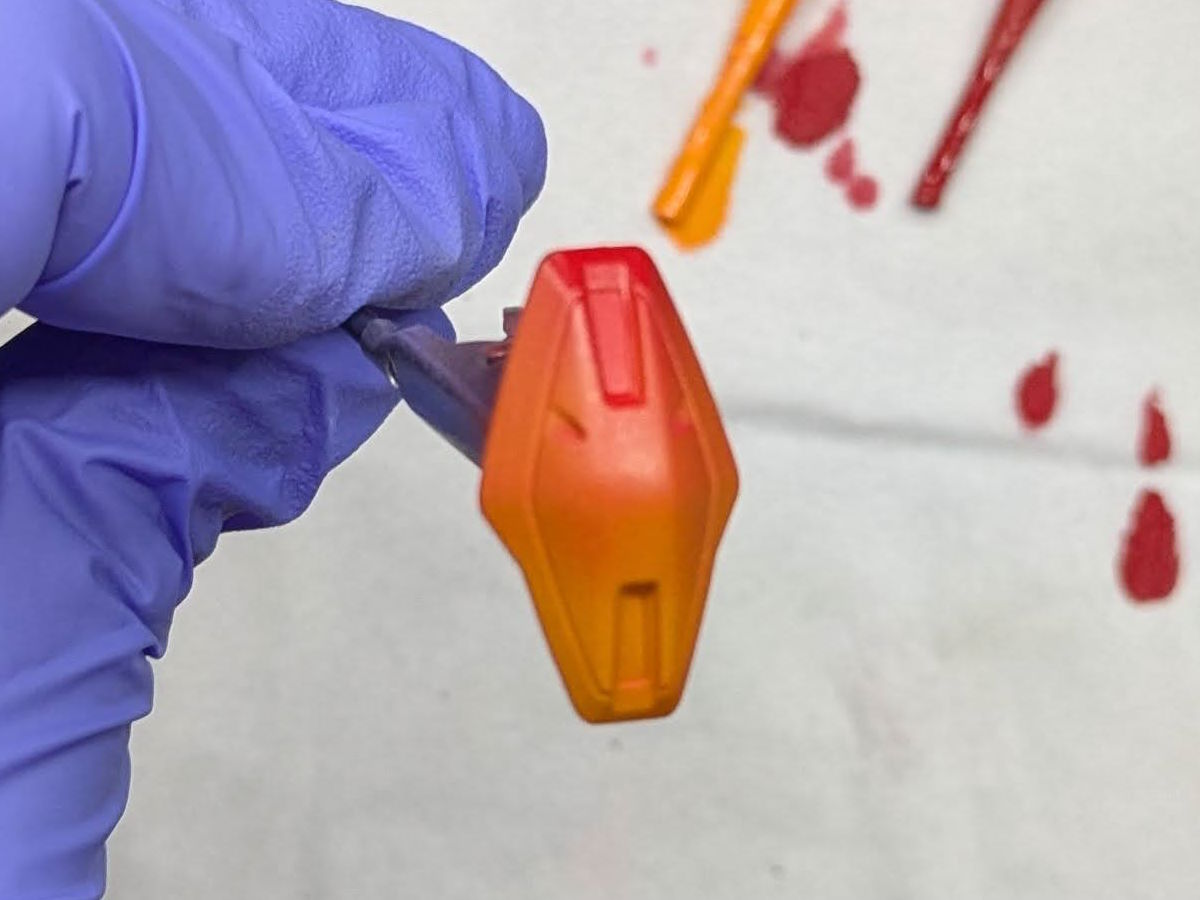

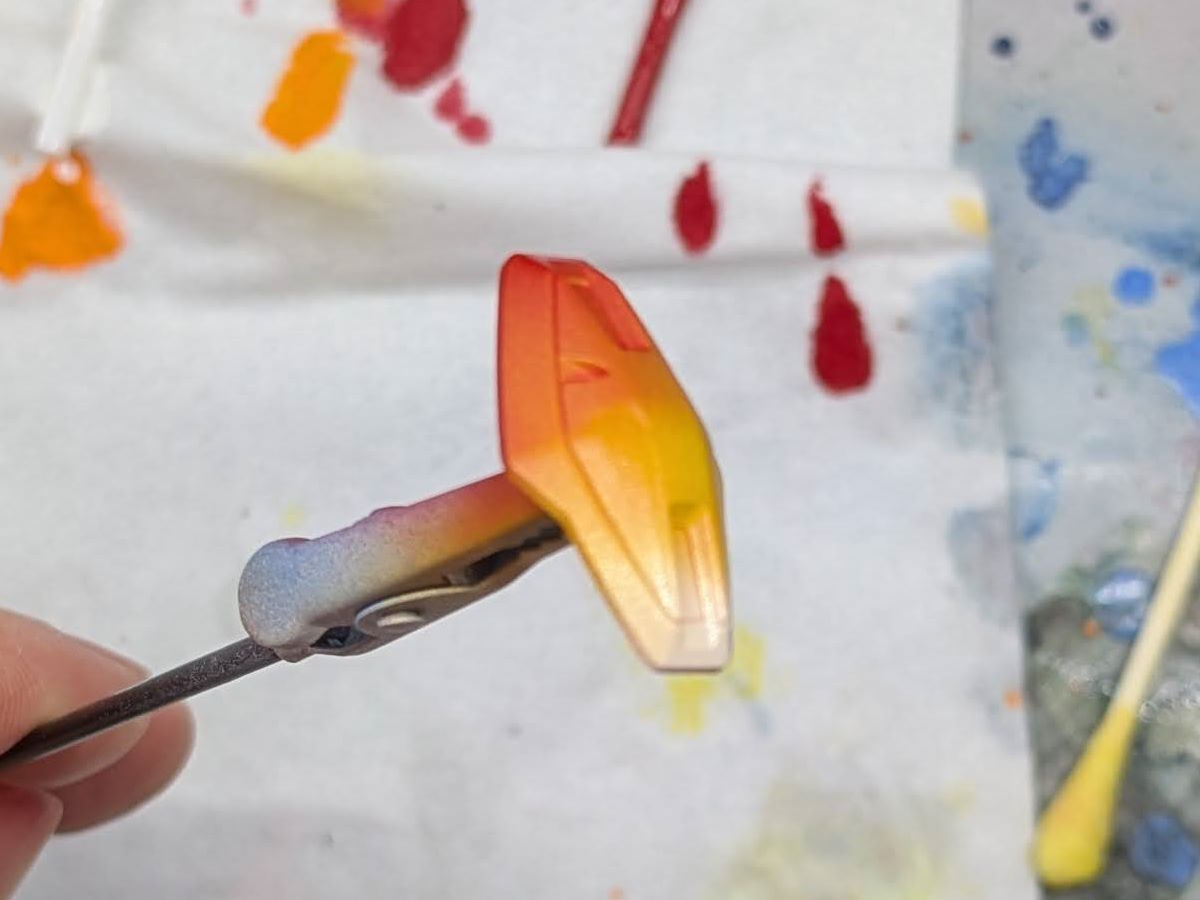
I really like how these came out. Though I think I should have kept the gradient a bit tighter and left more pure red because as-is they look a bit like candy corn…
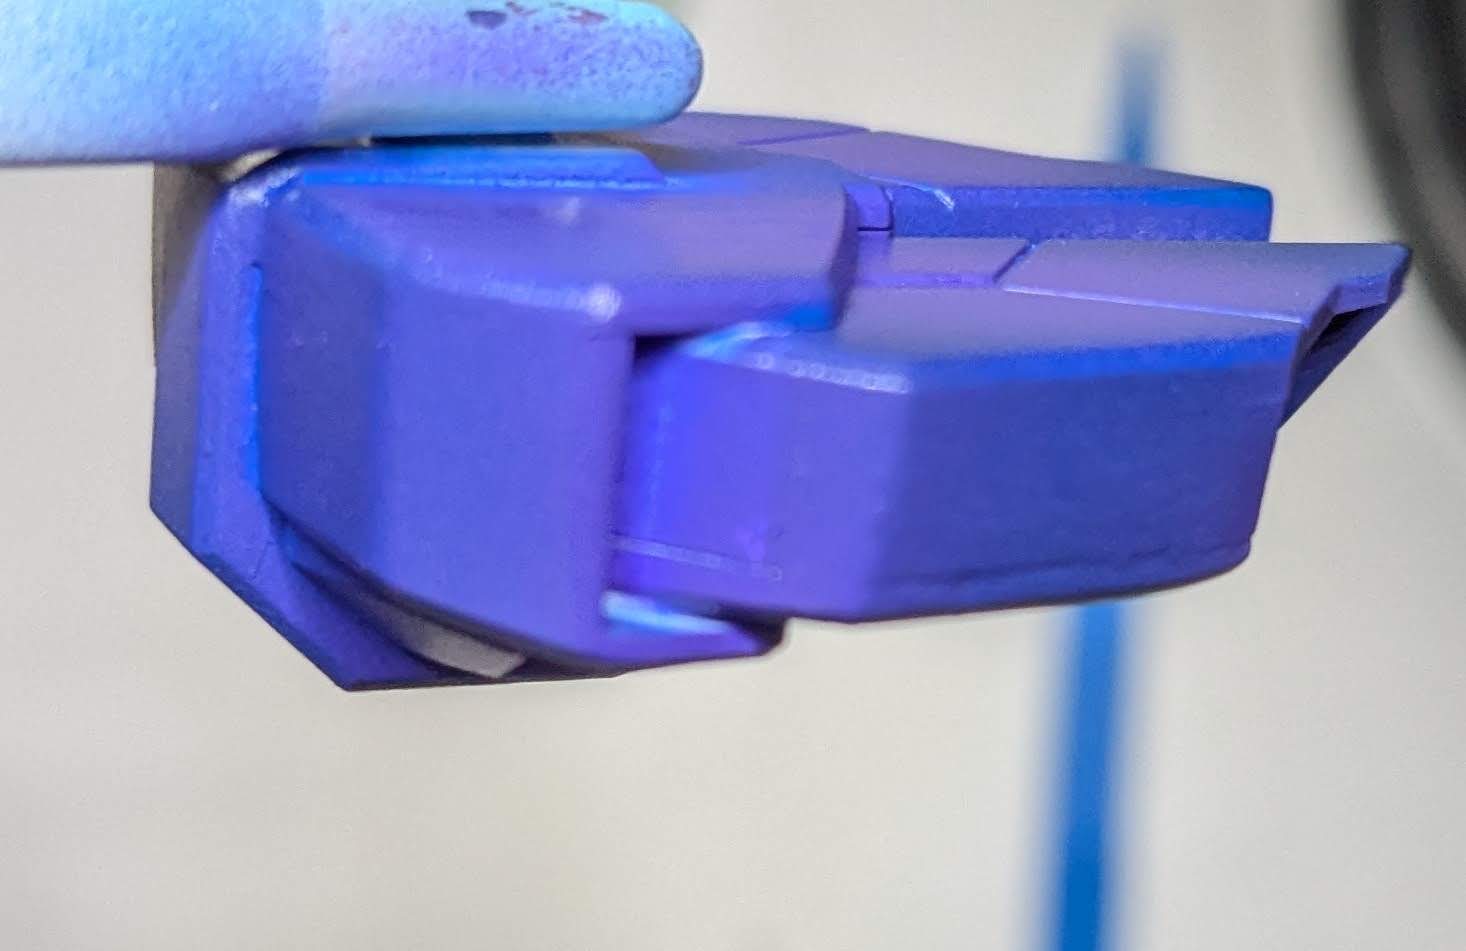
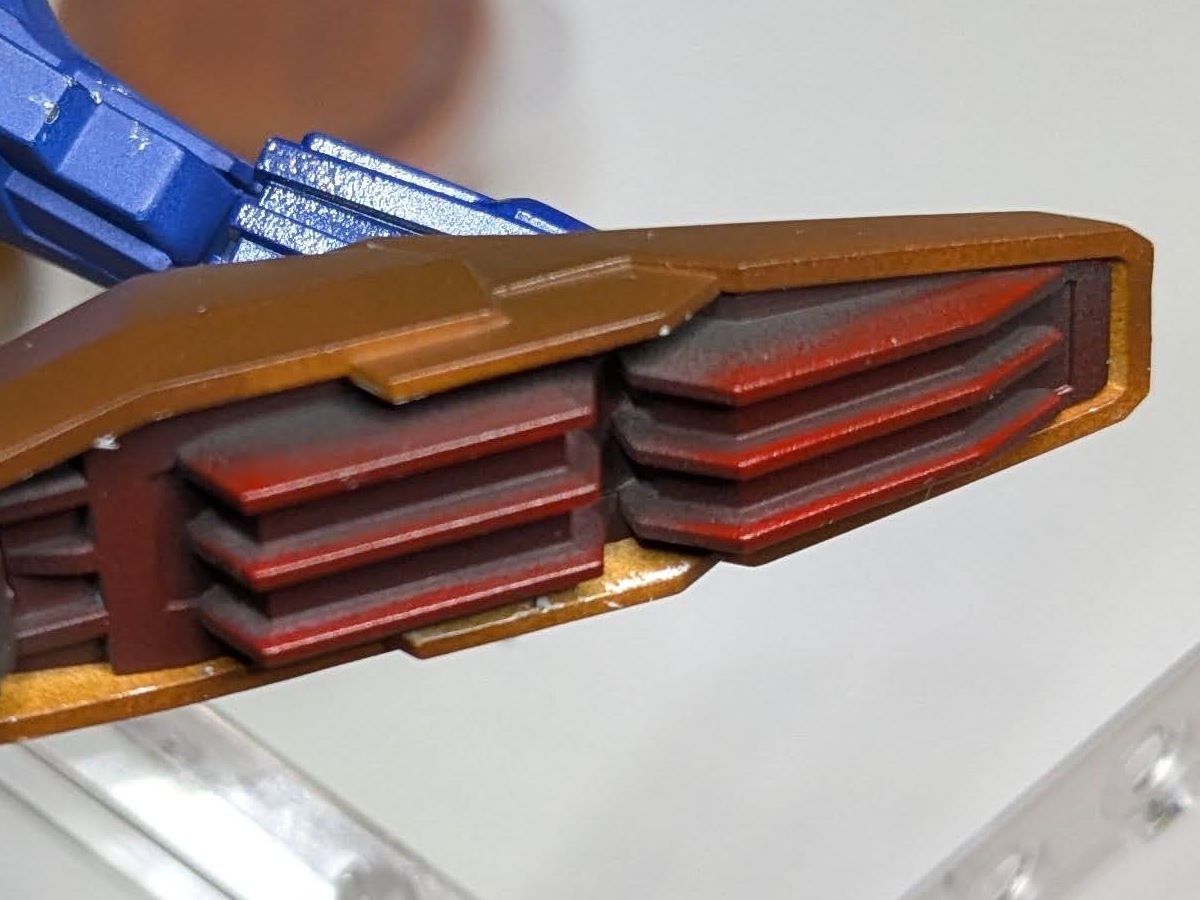
I also wanted to give the thrusters some kind of actual effect to imply they’re working, so I painted the tips red. By doing it as a really sharp angle I was able to catch just the tips, so the tips were bright red but I didn’t soak the whole piece.
Results
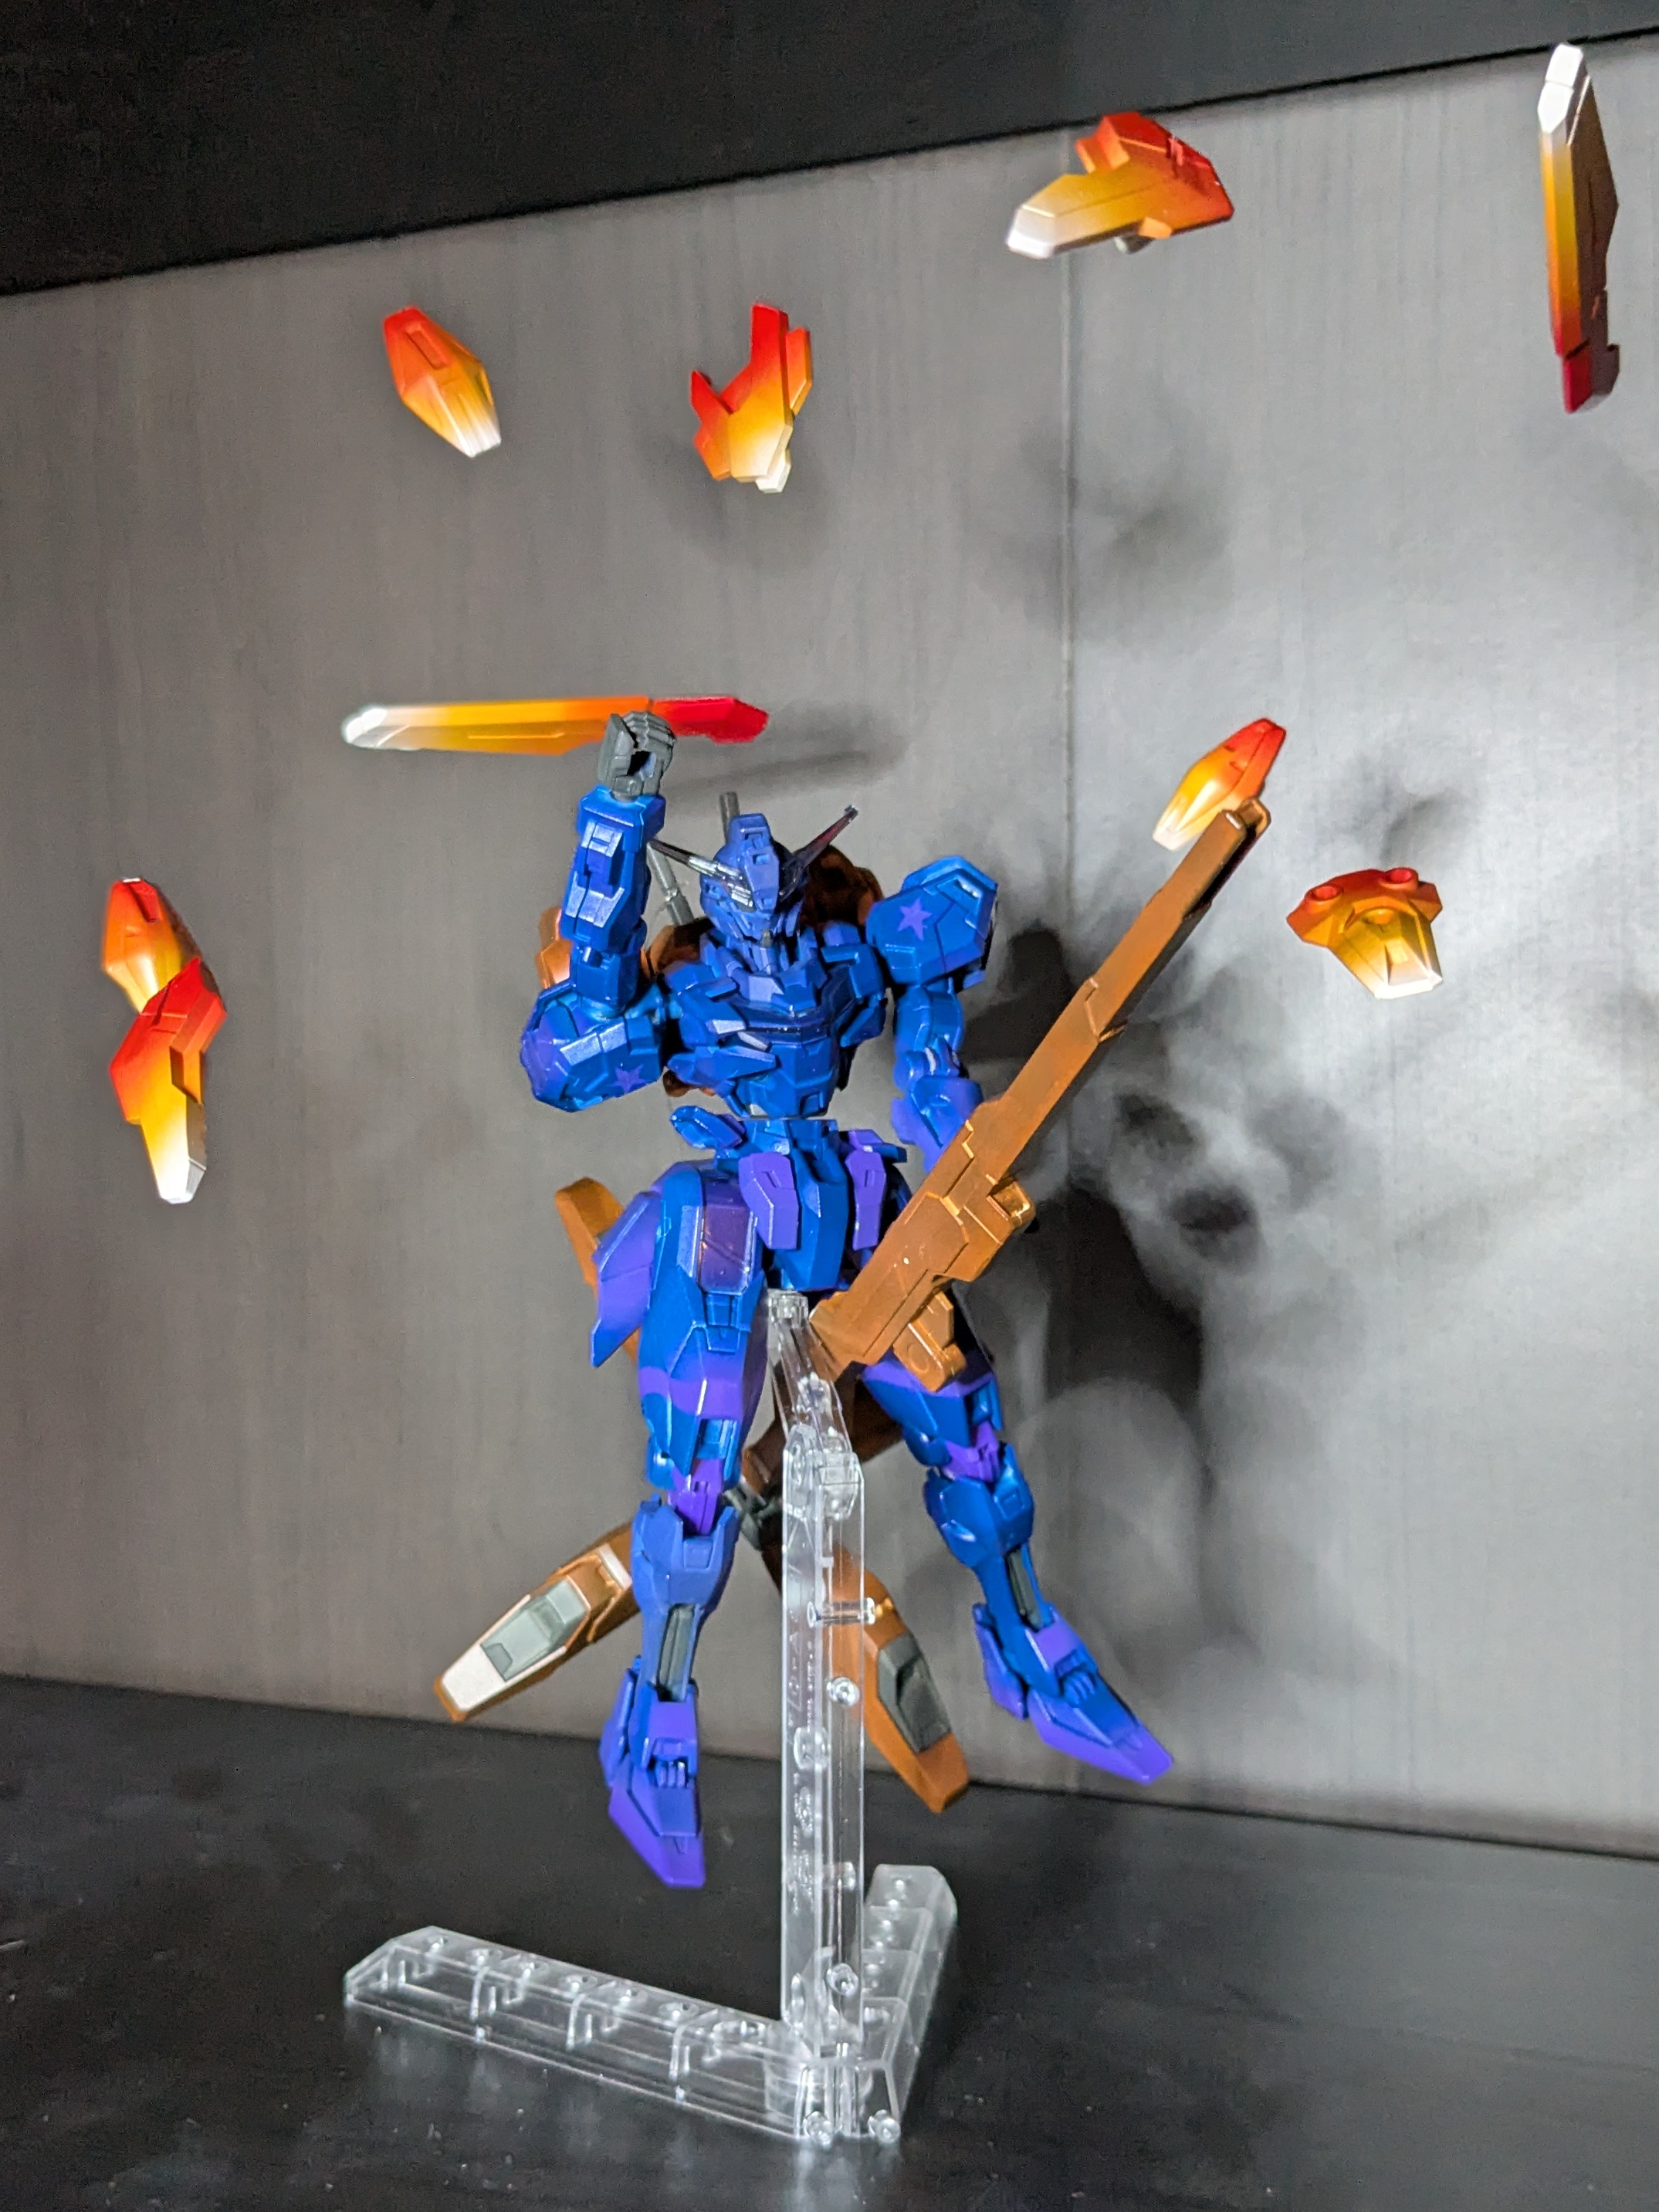
After doing some photo editing to remove the fishing line that held up the bits, it turned out great! Though I still need to invest in some kind of photo booth to get better lighting and backgrounds for my shots.
Also, the pre-edit photos: